


D.I.Y: Crystal Gem Tiara
3.7.2012
I got lot’s of compliments on this little pretty headband i made that I wore during Fashion Week…..I also felt like a little princess in it, which is never a bad thing!

What you need:
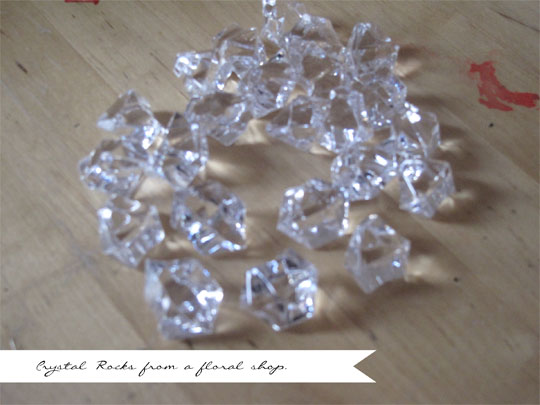
~Crystal Plastic Rocks, I discovered these one day exploring the flower district here in New York. I wasn’t quite sure what i would make with them at the time. But I knew I would come up with something….they were too amazing to pass up!
~Glue Gun
~Glue Sticks
~Head band, the metals can hurt but at least you know they won’t break! And when putting much time into a craft project…you wouldn’t want that! Instead of wearing it all day, I’ll just wear them for a night out, or to an event.
~newspaper, duh….unless you want to ruin your table. I am fortunate enough to have a craft table that can be messed up as much as I feel like!
Step 1: Once the glue gun is all heated up I started the first stone right above my ear by glueing just a little bit to the bottom of the stone onto the headband.
Step 2: I continue this all the way around until the other side is even. And then let dry!

And ta da! It’s really simple, and very few things go into it. It’s just a matter of finding those little plastic crystal rocks! If you do not live in New York, I bet Michael’s has them in their floral section? They also remind me of those rocks at the bottom of an aquarium, but not as heavy! They should be super light, you don’t want to wear real rocks on your head!


Just another dinner with the girls.
5.24.2011
It’s all about the special touches. I had fun with this one!


To make the banner I cut tiny little triangles and glued them on a string, then glued the string to lolli pop sticks. And tada, a mini banner!!


more Skyy infusion recipes found here

cocktail recipe found on drinkoftheweek.com
making big pitchers ahead of time for the guest to pour, always keeps the party going!


Instead of traditional candle blowing(which would of for sure started a fire with my cute lil banner) I made loli pops out of Jolly Ranchers, recipe found here. Sat them in glasses around the table as decoration(pretty!!), and then when it was time we popped the champagne and made a toast the guest of honor!!! Tasted just like Jolly Ranchers, such a sweet reminder of childhood! For this one use cheap champagne!


Cocktail Hour: Make your own Cocktail Garden.
5.10.2011
The sun has arrived!! Time to grow those lovely little herbs to make some yummy cocktails!! I have been collecting some old coffee cans to make into little gorgeous plant holders!! I finally caught the chalkboard buzz and decided to paint them on the cans so I can label what I am planting. I love how they turned out!!


What you will need:
~coffe tins
~Nail + Hammer to make holes
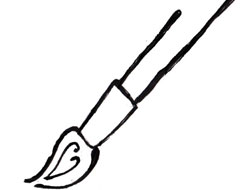
~paint brush
~Chalkpaint
~Chalk
~Dirt
~Herbs (Cilantro, Mint, and Basil are great for cocktail making)
 collect a few coffee cans, or any other tin cans you have. Poke a few holes on the bottom to make it a plant holder.

paint a few coats with Chalkpaint and let dry. For planting I used Cilantro, Mint and Basil. I have had great luck planting with Cilantro and Basil from the seeds. I haven’t tried Mint yet, so I picked up some already grown. It depends how patient you are 🙂 Basil usually grows like wildflower from the seed, at least from my experience 🙂

label with chalk!

I made this lovely Mint Ice Tea, a little later in the day I added 2 0z of Malibu Rum and headed to the rooftop to enjoy the sun! And there is a perfect summer cocktail!!


Search


Comments
4