


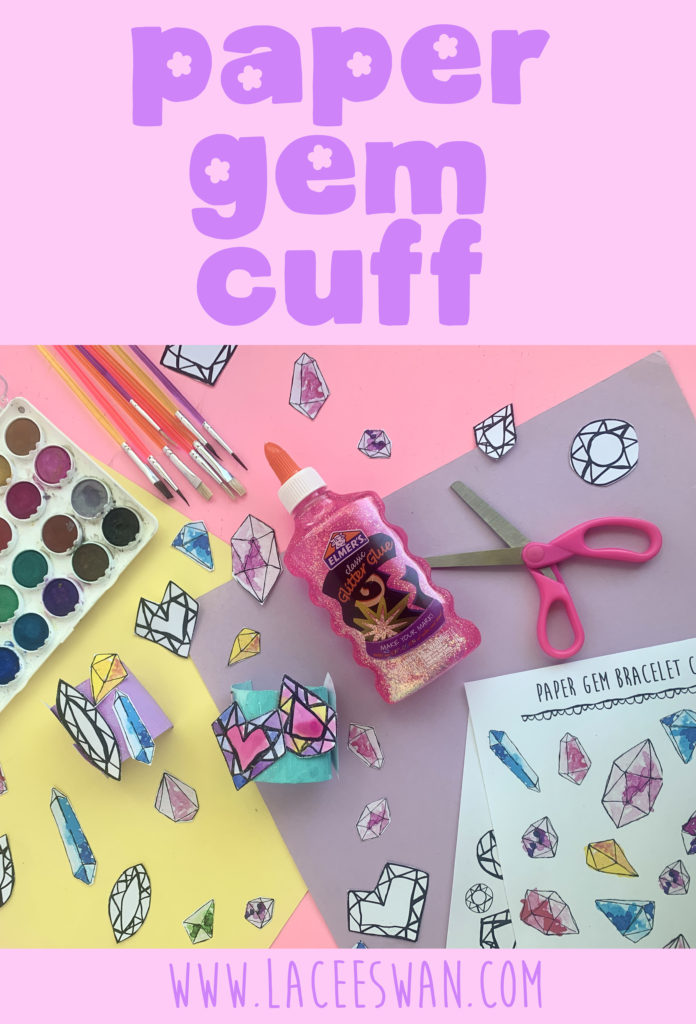
Camp Lacee: Paper Gem Cuff
7.25.2022
Just in time for hot summer weather and you want to stay cool inside and keep your kids off line….I’ve got you covered! I created these easy and super fun paper gem cuffs.

Supplies you need:
~toilet paper roll or paper towel roll
~glue
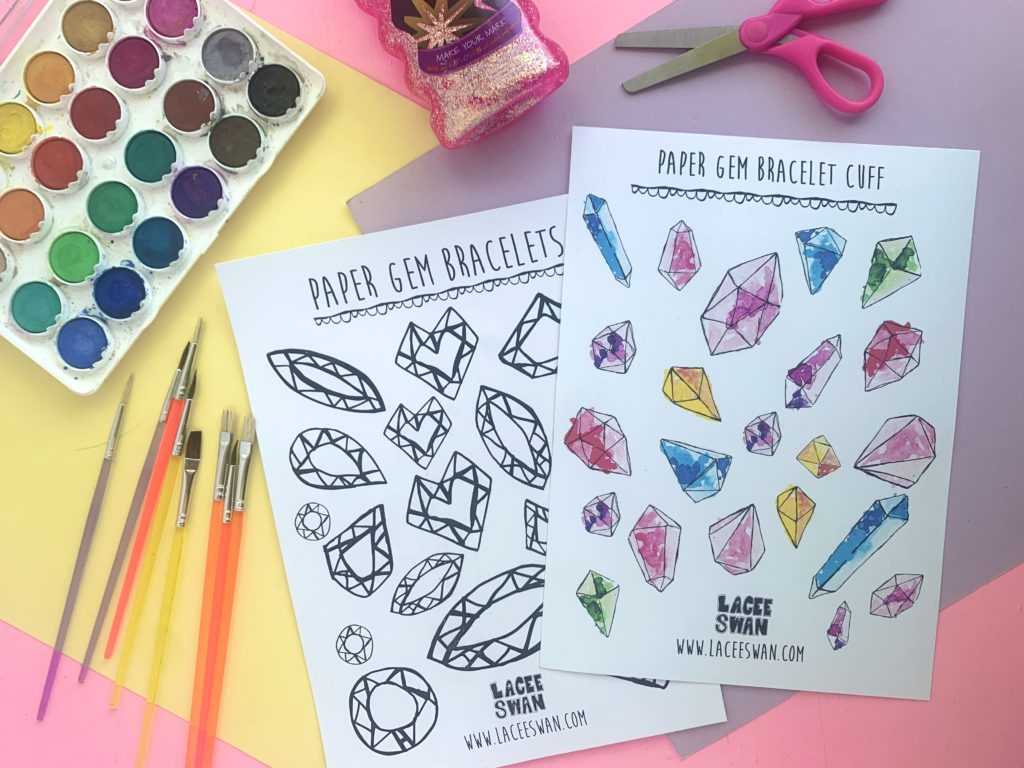
~markers and colored pencils, watercolor paint to color I love this watercolor set and also using posca markers
~paint brushes
~printing paper or I like using ink jet card stock best
~gem printable (click here to download)
~ribbon or string, I love this rainbow ribbon
You can shop all of my fave coloring supplies here.
Step by Step
Cut toilet paper roll in half and cut on the side to make a bracelet cuff.
Paint the paper roll cuff any color of your choice.
While that dries have fun cutting and coloring the gems.
Pick the gems of your choice and then have fun designing your bracelet! Have lots of fun being creative with this part. Glue each gem on and let it dry.
You can also add a ribbon or string to the cuff end to tie on to secure. And ta-da! you have an adorable gem cuff!
This is a fantastic craft for slumber parties, birthday parties and any get togethers with friends!
{This blog post contains affiliate links that I may receive a small commission from if you make a purchase. It is an easy way to support my blog at not cost to you.}
DIY: The Painted Collar
6.5.2012
As seen on The Blush this is a DIY collar (a huge trend at the moment!) that you can tailor (literally!) to your personality. I had so much fun with my project, I made two — one for my more artistic and creative side and another for the more vintage, polished girl feel. Give it a try and let me know how it goes!
Supplies
• Ribbon (elastic works well too; really whatever you have around the house you think will work), 1/4-3/8″ wide
• Acrylic paint, whatever colors you like!
• Scraps of leather or suede
• Pattern, you can download here
• Strong glue
• Paint brush
• Sharpie


Step 1: Cut out pattern and trace onto back of leather/suede scrap with a Sharpie.
Step 2: Cut the leather/suede and flip over to right side.
Step 3: Paint each collar piece as desired. In this look, I went with a more demure look with gold polka dots on white background. For my “wild” look, you will see I went for a more fun, crazy, artsy look.
Step 4: Complete look and let dry.
Step 5: Cut ribbon 1 1/2″ in the middle, and 8/10″ for each of the ends. Glue and let dry. You can always cut off ends a little more if too long.

Ta Da!
It’s the perfect accessory to make that old outfit you love new again!

Go Artsy
And just to keep the creative winds going, here is one a little more on the wild side! It’s the exact same concept, but I used another color for background and went a little dramatic with the colors!
Search


Comments
0