


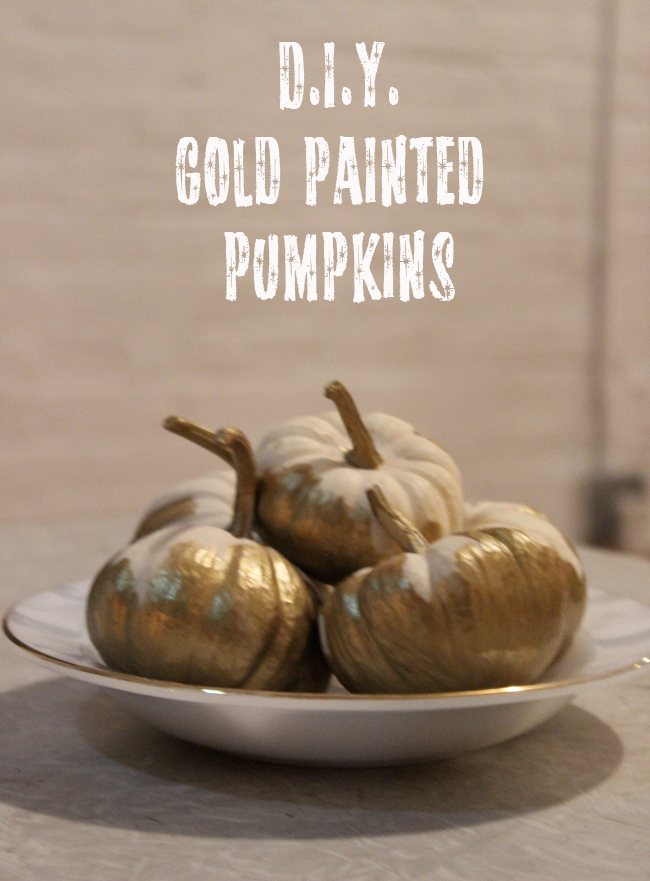
D.I.Y. Gold Painted Pumpkins
10.12.2013
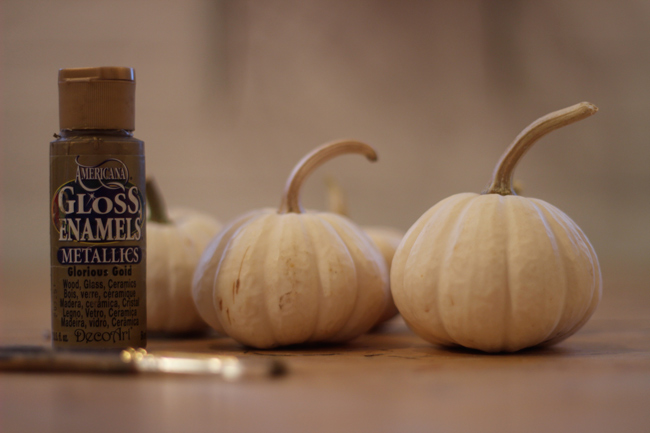
SUPPLIES:
~gold metallic paint
~brush
~white pumpkins
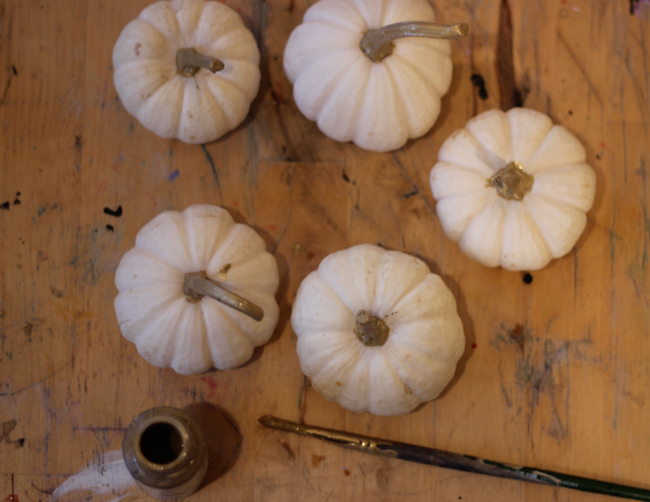
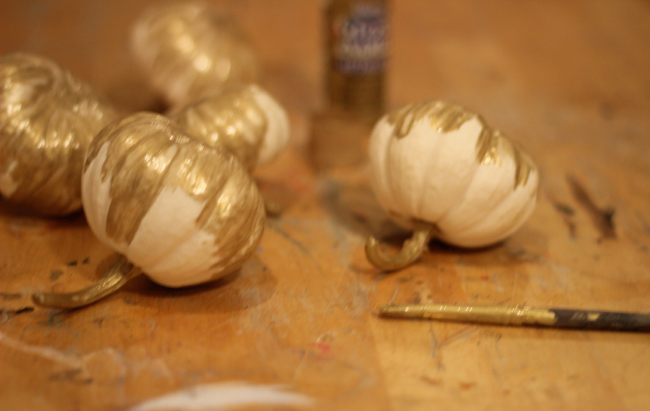
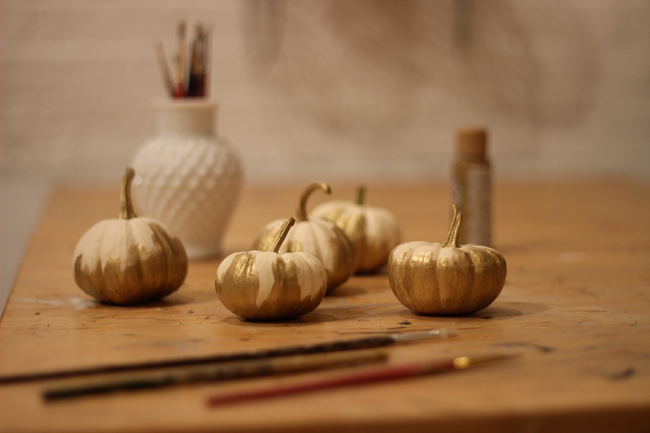
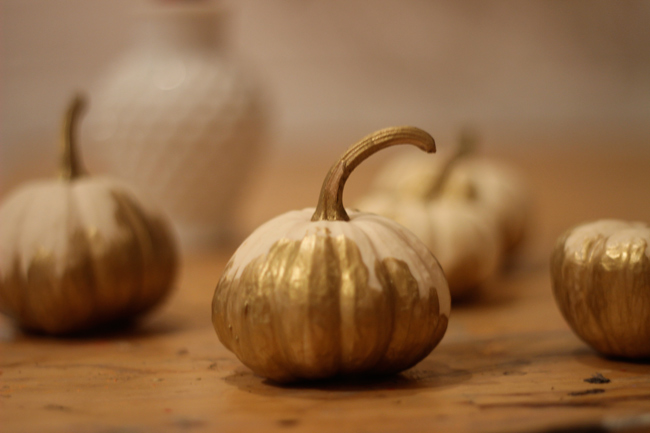
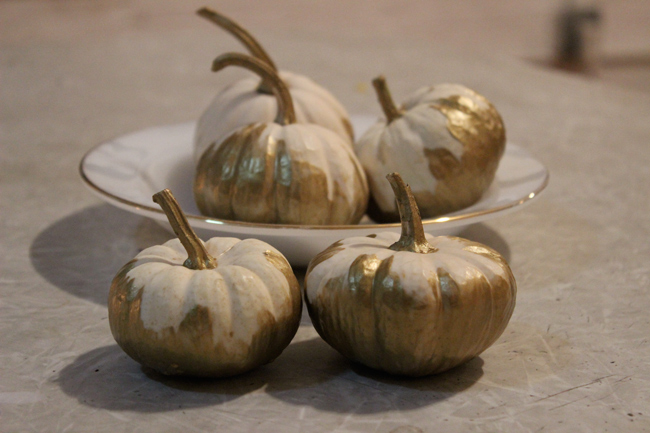
A very simple DIY to give little pumpkins a classy spin. I started with painting the stem gold and then letting it fully dry. Second step is to tip them over and start painting the bottom. The trick is to be a little messy with painting the pumpkins, giving them an unfinished look. Use uneven brush strokes all around the bottom and leave the top unpainted. I did a couple of layers of paint but left the top of the brush stroke light and airy.
D.I.Y.: Floral Choker: 2 ways.
8.23.2012
Obsessed with the ’90s? Yes. Watch way too much Melrose Place? Um, guilty. So I couldn’t help but be inspired to do a DIY choker. In this case, I did two. One inspired by the character Jane Andrews, who plays a very sweet fashion designer on the show and runs around in her little floral designs. For this choker, I used white with little flowers to pair with my pretty floral dresses. The other is inspired by her sister Sydney Andrews (not so sweet), a rebellious vixen that makes Jane’s life hell. But, she wins my heart with her epic style. Parading around in her black velvet baby dolls or leather and suede fringe jackets. This choker a little more femme fatale, I used metal floral and chains for decoration. Now if I can just find that perfect velvet baby-doll dress to wear with it!


The “Sydney” Floral Chain Choker: Supplies
• Black ribbon, I prefer velvet as it is easy to tie and untie or even better Crushed Velvet!
• Tiny chain, you can go wild with different colors if you like
• Metallic flower studs
• E6000 Glue
• Thread and needle
• Clipper (a professional jewelry clipper if you have it but in this case since the chain is so small a cuticle clipper worked perfectly!)
 Step 1
Cut the chain into three small pieces of different length 4 to 7 inches. I used a ruler for the six inches in the middle where I set down the chain to how I wanted them to look. I preferred overlapping and uneven. I even let one hang off to the side, and kept a knot for unique detailing.
 Step 2
With a thread and needle sew the ends of the chain onto the velvet ribbon.
 Step 3
Place metallic flowers however you like. I decided to keep the uneven theme. And then glue and let dry.
 Ta Da!
All done! A super easy but fancy choker is made!

The “Jane” Sweet Floral Choker: Supplies
• White leather trim
• Mini rosettes
• E6000 Glue

Step 1
Layout how you would like the flowers to be placed on the choker. I chose 3 and started in the middle, but you could use more if you like!

Step 2
Glue and let dry.

And…Ta Da!
So very simple! But yet can add that little extra touch to make an old outfit feel new again!
{all photos by me}
D.I.Y: Crystal Gem Tiara
3.7.2012
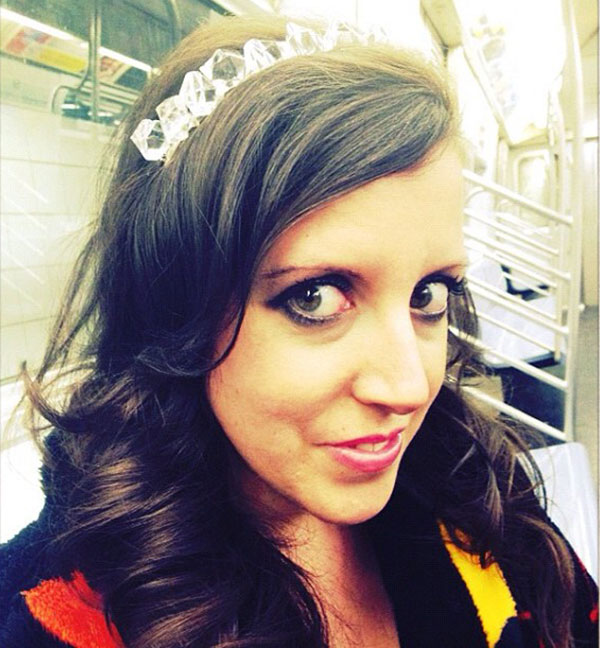
I got lot’s of compliments on this little pretty headband i made that I wore during Fashion Week…..I also felt like a little princess in it, which is never a bad thing!

What you need:
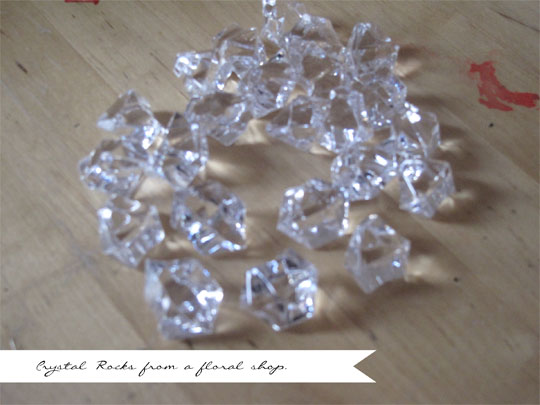
~Crystal Plastic Rocks, I discovered these one day exploring the flower district here in New York. I wasn’t quite sure what i would make with them at the time. But I knew I would come up with something….they were too amazing to pass up!
~Glue Gun
~Glue Sticks
~Head band, the metals can hurt but at least you know they won’t break! And when putting much time into a craft project…you wouldn’t want that! Instead of wearing it all day, I’ll just wear them for a night out, or to an event.
~newspaper, duh….unless you want to ruin your table. I am fortunate enough to have a craft table that can be messed up as much as I feel like!
Step 1: Once the glue gun is all heated up I started the first stone right above my ear by glueing just a little bit to the bottom of the stone onto the headband.
Step 2: I continue this all the way around until the other side is even. And then let dry!

And ta da! It’s really simple, and very few things go into it. It’s just a matter of finding those little plastic crystal rocks! If you do not live in New York, I bet Michael’s has them in their floral section? They also remind me of those rocks at the bottom of an aquarium, but not as heavy! They should be super light, you don’t want to wear real rocks on your head!


Search


Comments
0